Showing posts with label almonds. Show all posts

Tuesday, 13 October 2026

Homemade Granola


Homemade granola is the best, I can snack on it constantly, as it's one of those simple pleasures you can bake in little time. It is a recipe that is so adaptable to your tastes and virtually effortless plus the smell as it bakes is so wonderfully comforting. Have it for breakfast or a moreish snack or sprinkle as a topping over desserts and baked goods, do not hold back because as is or added to whatever you wish it's deliciously inviting all the same. 


Homemade Granola 
---------------------------------------------------------------------------

3 cups large flaked oats
1/4 cup chopped walnuts
1/2 cup sliced almonds
1/2 cup coconut flakes
2 teaspoons ground cinnamon
1/2 teaspoon salt
3 tablespoons olive oil or melted coconut oil
1/2 cup honey or maple syrup
3 tablespoons smooth almond butter
1/2 cup dried cranberries
1/4 cup dried golden raisins

Preheat oven to 300ºF (150ºC). Line a large baking tray with baking parchment paper and set aside.

In a large bowl combine the oats, chopped walnuts, sliced almonds, coconut flakes, cinnamon and salt. Drizzle in the olive oil and honey and then add the almond butter. Stir until combined. Spoon the granola onto the prepared baking sheet and lightly spread it out, then using a spatula press the granola mixture down, doing this will encourage clumping to form large crunchy clusters. 

Bake for 15 minutes. Remove from oven and using a spoon or fork gently break the granola apart just a bit. Bake for another 15 minutes or until golden brown. Remove from oven and sprinkle with the dried cranberries and golden raisins and allow to cool for about 15  to 20 minutes before serving or cool completely before storing in an air tight container. 

Monday, 28 January 2019

Dundee Cake


I always wanted to try my hand at making a fruit cake however been a bit hesitant, for whatever reason. I believe this cake brings me close. I have always admired fruit cakes for their rich, dense fruity display although never a childhood favourite of mine, until later. Traditionally served during holidays and at feasts, this is quite lovely anytime. 


Dundee Cake
----------------------------------------------------------

1 cup whole blanched almonds

3/4 cup unsalted butter, softened
180g dark brown sugar
zest of 1 orange
3 tablespoons strong marmalade
3 large eggs, beaten
225 g unbleached all purpose flour
1 teaspoon baking powder
100g / 1 cup ground almonds
2 tablespoons milk
500g mixed dried fruit
100g whole glacé cherries

Glaze:
1 tablespoon milk
2 teaspoons caster sugar

Prep:
Place the almonds into a small bowl and pour boiling water over to just cover. Leave for 5 minutes then drain the water and leave to dry.

Preheat oven to 350ºF/180ºC/gas mark 4. Lightly butter and flour a deep spring form cake tin then line with baking parchment paper. Set aside.

Sieve the flour and baking powder together in a bowl. Set aside.

Making the cake:

Put the butter in a large bowl and using a hand held mixer beat well until soft. Add the sugar and beat until light and fluffy. Stir in the orange zest and jam.

Add the eggs to the creamed butter and sugar one at a time, beating well between each addition. 

Add the flour mixture and ground almonds and mix well. Mix in the milk and then add the dried fruit and cherries and gently mix together. 

Spoon the mixture into the prepared baking tin and spread the batter level using the back of a spoon. Arrange the whole blanched almonds close together forming circles on top of the cake. Bake in the oven for 45 minutes. 

Then lower the ovens temperature to 325ºF/160ºC/gas mark 3 and bake for a further 60 to 80 minutes. Check the cake after 50 minutes by inserting a wooden or metal skewer into the cake. When it is done it should have just a few crumbs attached. 
Check the cake every 10 minutes - it is important not to over cook this cake so the centre will be little soft.

When cooked remove the cake, briefly, from the oven, put the milk and sugar into a small saucepan and heat gently until the sugar dissolves. Brush over the top of the cake and return the cake to the oven for 2 to 3 minutes. Remove from oven and allow the cake to cool completely in the tin. When cold remove from the tin and wrap in foil and keep for at least 2 days before cutting. 


Hope everyone a great weekend! - JD 

Thursday, 19 January 2017

Clementine Cake


This lovely recipe comes from Nigella Lawson's, 1998 cookbook, How to Eat. The cake itself is dense, moist, flourless and has the most incredible orange taste; that intensifies the day after it is made. I recommend making this cake as you will not be disappointed.


Nigella Lawson's Clementine Cake
--------------------------------------------------------------------------------
Serves 8 - 10

approximately 13 ounces clementines (approximately 3 medium sized ones)

6 large eggs

1 1/4 cups granulated sugar 

2 1/4 cups almond meal (ground almonds) 

1 teaspoon baking powder *

* to make this a gluten free cake use gluten free baking powder or omit the baking powder all together.

Method:

Put the clementines in a pan with some cold water bring to a boil and cook for 2 hours.
Drain and, when cool, cut each clementine in half and remove the pips. Dump the clementines - skins, pith, fruit and all, and give a quick blitz in a food processor (or by hand, of course) Pre-heat oven to gas mark 5/190ºC/375ºF. Butter and line a 21cm/8 inch Springform pan.

You can add all the ingredients into the food processor and mix, or, you can beat the eggs by hand adding the sugar, almonds and baking powder, mixing well, then finally adding the pulped oranges.

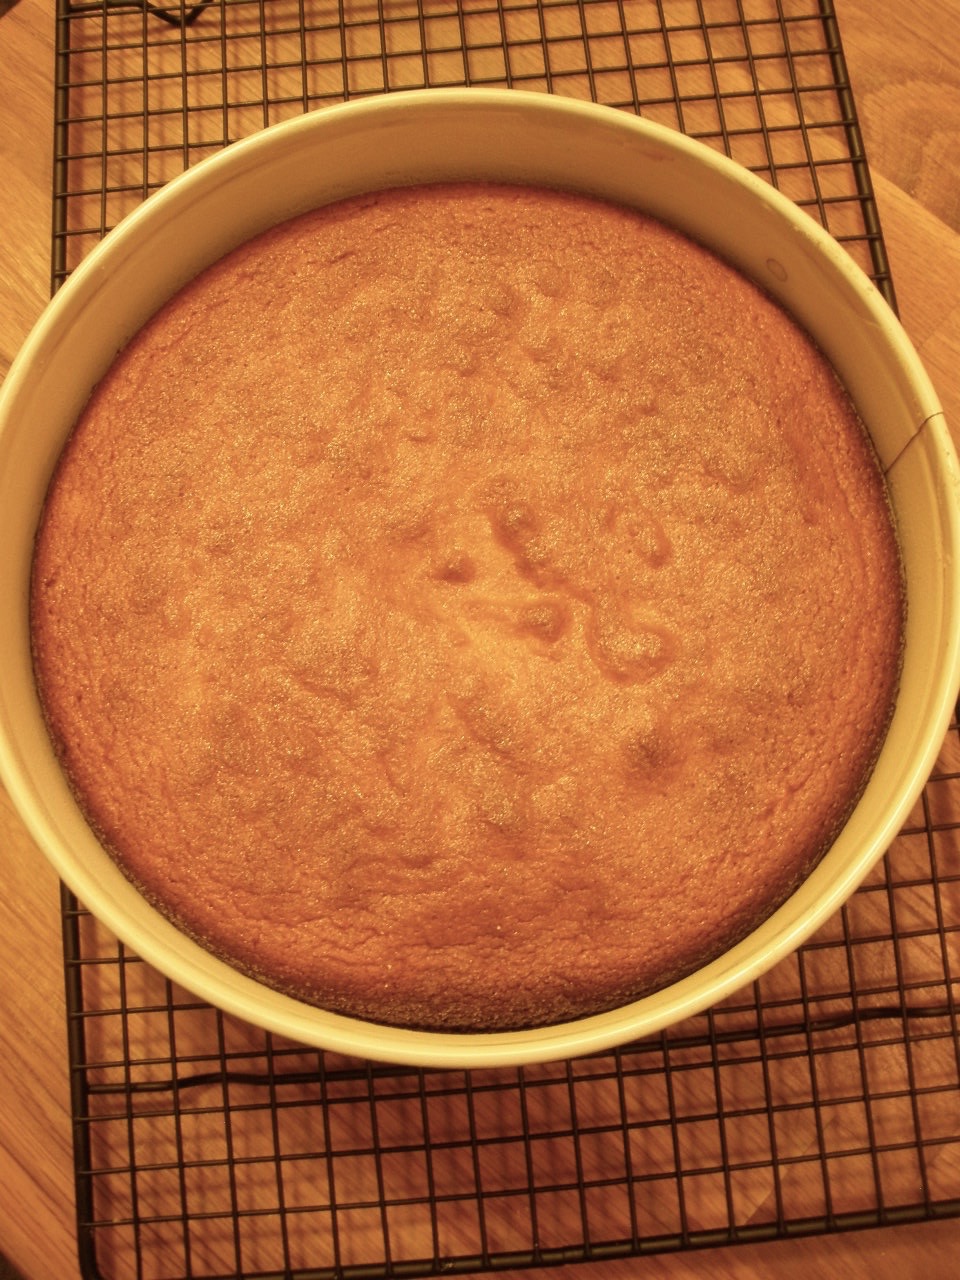
Pour the cake mixture into the prepared tin and bake for an hour, when a skewer will come out clean; you'll probably have to cover with foil or grease proof paper after 40 minutes to stop the top from burning. Remove from oven and leave to cool, on a rack, but in the tin. When the cakes's cold, you can take it out of the tin. 

Notes: I used approximately 6 small to medium sized clementines. I used a blender to pulp the clementines and mixed everything else by hand. My baking time was under the suggested time of 1 hour, so I recommend checking it at the 30 minute mark. My total baking time was between 40 to 50 minutes. 

To view the recipe, see the metric conversions, and Nigella's notes go to nigella.com, or click *here* and type in clementine cake.

Hope everyone is having a good week so far. - JD 

Thursday, 22 December 2016

Food Photo of the Day ~ Rum Balls

My husband and I had fun making these last night. Ran out of chocolate sprinkles therefore the remaining rum balls were dressed with multi coloured dots. The baking continues...

This week sure is flying by. Stay warm. - JD 

Wednesday, 18 May 2016

Cauliflower & Kale with Almonds

This side dish is the simplest thing you can rustle up even when you are foraging around the kitchen. Even if you do not have all the ingredients there are only a few which makes this recipe efficient and a breeze to create after a busy day. 


Cauliflower & Kale with Almonds
--------------------------------------------------------------------------------------------------------
1 medium/large cauliflower, washed and chopped into smaller florets
a bunch of fresh kale, washed and chopped into strips
1-2 tablespoon vegetable oil
2 teaspoons vegetable herb mix
handful of almonds
1 orange, for juice and or rind, optional

In a large frying pan add the oil and warm over medium high heat. Add the cauliflower florets and sauté for about 3 to 5 minutes. Stir in the kale. The kale will stand high in the fry pan however it will cook down. Stir to ensure that the kale does not stick and everything gets incorporated nicely. 

Once the kale has cooked down and the cauliflower is tender but still firm; sprinkle the vegetable herb mix over the cauliflower and kale mixture, and stir to coat evenly. Add  the almonds, stir and heat for a few minutes longer until the almonds are warm and sautéd well enough. Transfer to a serving dish and serve as is or add some freshly squeeze orange juice over the top or grate orange rind over the dish. 

Notes: You can always add chickpeas and or mushrooms. Use lemon juice or lemon rind instead of orange. Try using different oils. Add cheese. To make it a main meal you can always serve over cooked quinoa or brown rice. 


Hope everyone had a good weekend. We did! Still managing with this cold virus hope to be 100% soon. - JD 

Thursday, 28 April 2016

Leftovers #32 ~ The Anything Goes Salad


Having little bits of this a that in the refrigerator and pantry can bring together a tasty meal or side under the most creative circumstances. For this salad, anything goes... or went into it. The only thing I bought were the tomatoes; other than that everything else was leftover or on hand. Sometimes, salads do not have to be about the leafy greens. 

First I made the dressing... in a dressing shaker, I mixed together avocado oil with lime zest, lime juice, grainy mustard, honey, summer savoury herb and pepper.   

I had some leftover chickpeas, lentils, and sliced mushrooms which were tossed in oil and seasoned and roasted in a 425ºF oven until browned. As those roasted I chopped and sliced the green pepper, red pepper, and cucumber. They were placed into a large bowl. I then added a handful of cherry tomatoes, almonds and dried cranberries. I found a few slices of multigrain seed bread so I cubed the bread and once the chickpeas, lentils, and mushrooms were finished roasting and placed in a separate bowl to cool, I toasted the cubed bread in the oven, under the same temperature 425ºF, for a few minutes. Creating croutons. 

I then added the cooled roasted mixture to the large bowl of fresh veggies and drizzled the avocado lime dressing over everything. Gave it a really good toss then added the croutons and tossed again. What is not pictured here is the nice golden brown slices of pan-fried halloumi cheese I placed on top. 

Notes: All ingredients made a fairly large salad which there were leftovers; and the next day the croutons softened a bit however very flavourful, crisp and still delicious!  


Wednesday, 20 April 2016

Leftovers #31 ~ Apple Goats Cheese Phyllo Squares


It is rare there is leftover phyllo pastry or goats cheese however apples always seem to be lying about the kitchen and prove to be handy with this recipe. Pair all three together and you have created a very delicious dessert. 


Apple Goats Cheese Phyllo Squares
-----------------------------------------------------------------------
8 sheets of phyllo pastry

6 apples, peeled, cored and diced
2 teaspoons cinnamon
2 tablespoons dark brown sugar
about 1 to 2 tablespoons melted butter

more melted butter for brushing, approximately 3 to 4 tablespoons 
sliced almonds for garnish

Preheat the oven to 350ºF and line a baking tray with some baking parchment paper, set aside. 

Place the diced apples into a large bowl and add the cinnamon, sugar, and melted butter. Toss to coat. Set aside.

Undo the sheets of phyllo pastry and lay on a flat clean surface. Going down the middle cut the sheets in half and going lengthwise, cut the sheets in half, again. You should have 4 separate rectangles with 4 phyllo pastry layers each. Brush each set of sheets, including the top layer, with melted butter until all sheets have been buttered and laying on top of one another, you will now have 4 separate well buttered phyllo rectangles...


Crumble the goats cheese to one side and spoon the apple mixture over top...


Fold over, or in half, to form a smaller rectangle, sealing the sides with melted butter. Folding the sides inwards, as tightly as you can, until you have a lovely square parcel, brush with the melted butter, to hold the sides in place, and place seam side or folded sided down on the prepared baking tray...
Repeat the same until all are done then brush the tops with melted butter and sprinkle with the sliced almonds and bake until nicely brown and crisp approximately 30 minutes.

 Ready to serve. A delicious dessert or Sunday brunch drizzled with maple syrup.

Notes: This recipe makes 4 large apple goats cheese squares however you could cut the phyllo pastry again to get 8 small squares. You could also add honey or walnuts to the apple mixture.   


Hope everyone had a great weekend. - JD 

Tuesday, 3 November 2015

Chocolate Croissants

The other day I made chocolate croissants for brunch. I had an easy recipe that I was eager to try plus all the ingredients therefore I could not wait to make them. The croissants turned out alright; considering this was my first attempt at something so delectably sinful. I will definitely make these again, possibly trying other fillings such as fruit or marzipan. Following the recipe are my photos throughout the recipe stages. Enjoy!

Chocolate Croissants
------------------------------------------------
1 x package of ready puff pastry
Nutella 
1 egg beaten
sliced almonds
and some melted dark chocolate for drizzling on top

Pre-heat the oven to 350ºF (180ºC)

Line a baking tray with parchment paper.

Roll out the puff pastry according to the package. Using a pastry cutter or a pizza cutter cut the puff pastry into triangles and spread some Nutella in the middle of each. Roll each into a coiled croissant shape; brush lightly with the beaten egg. Sprinkle the top of each formed croissant with the sliced almonds. Bake on the prepared tray for about 20 to 25 minutes or until golden. Remove from oven and drizzle the melted chocolate over the top of each croissant.

Notes: You do not have to use Nutella; you could try chocolate chips or broken up chunks of chocolate. 


My chocolate croissant recipe photos:

 Preparing...  rolling out the puff pastry and cutting it into squares or rectangles, first.  


I was so eager... probably too eager and in my culinary zone that after spreading some Nutella in the centre of each cut out pastry it was only then I realized that I did not cut  the pastry again to make triangle shapes... my husband and I had a laugh and I proceeded to roll them into a croissant shape, the best way I could, regardless. 


 Ready for the oven... more like a crescent moon shape then a croissant shape.   


 Out of the oven... nicely golden and puffed up, waiting for more chocolate.


Drizzle... the finishing touches before they said hello and goodbye to our stomachs. Regardless of the shape they were very pleasantly edible and enjoyed by everyone!   

- JD 

Monday, 14 September 2015

Food Photo of the Day ~ Loaded Oat Bran

Sunday brunch was a bit more casual this weekend. Cooked oat bran with all sorts of lovely toppings to add some crunch, sweetness, fibre and nutrition. Chopped dried apricots, crushed almonds, unsweetened shredded coconut, flax seeds and sunflower seeds. The kidlets had fun picking and choosing which to add. I also added a drizzle of maple syrup and just a touch of milk, to mine. Oat bran loaded like this made more of a delicious balanced cereal, rather than dumping sugar on it trying to get some flavour. There are many ways to dress up an otherwise bland breakfast cereal by adding ingredients like these. Simple, healthy and a great way to start the day! 

Hope everyone had a good weekend, we did. We managed to do some Halloween costume shopping... oh it is never too early for Halloween! - JD    

Wednesday, 19 December 2012

Rum Balls


I was never really fond of rum balls, probably because of the artifical rum flavouring used in the majority of the ones I tried. They tasted overly sweet and the chocolate was bland. Last year I got on with making rum balls and I haven't looked back since. They are now part of my regular Christmas baking. Running a close second to my shortbread.         
The ones I made, pictured here, have a good quality chocolate and rum. The flavour is deep and rich and as for the rum... you can never have enough rum in them. These are great to give as a gift or a festive thank you treat when dashing off to one place or another over the holiday season. - JW